Badge management (manual and with in-chat triggers)
How to create a badge, assign it to the user, and set the triggers up
General description
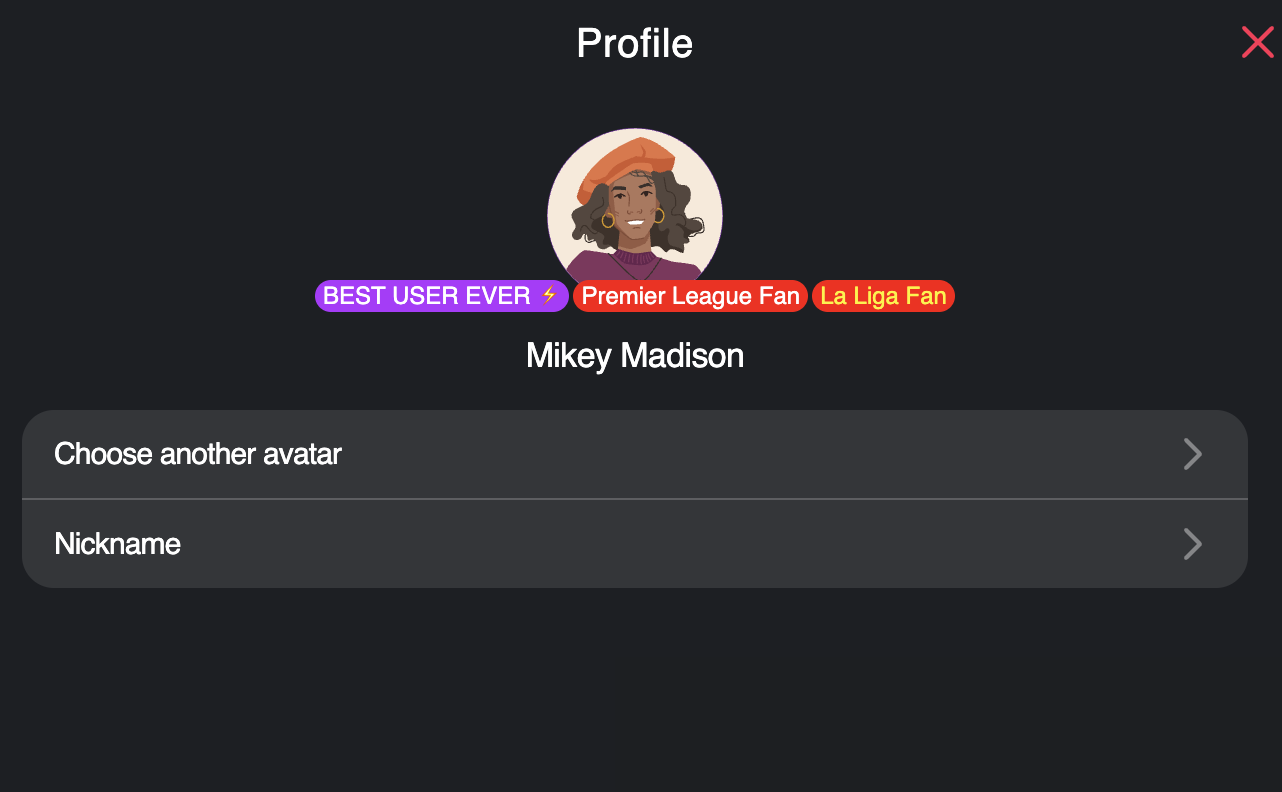
Badges and achievements are the best solution for highlighting users or encouraging them to take needed actions. A badge resembles a colour label with short text or a small picture near the nickname. A user can receive one or several badges simultaneously. Badges can be permanent, disappear, or change after a while. Badges can be used to engage users in chats more or to stimulate them to take paid actions, spend more time at the service, or consume more content.
You can set a notification to inform users that they are awarded. Also, you can add a tooltip for other users with the information on how to get a badge. Awarded users can see their own badges on their user profiles.
Location: Widgets > Badges and Achievements

Types of badges in the admin panel
We have three types of badges based on the user experience and the process of their collection:
- Standalone Badge — cannot be leveled up
- Badge Collection — the chain which consists of various badges combined
- Progression Series — the chain which consists badges with the same title which are leveled up
Mechanics: how to assign it (manually or automatically)
If you set up a badge with triggers, these triggers can be connected just with the in-chat activity! If you want to connect badges with actions on the main platform, you don't need to set triggers: in this case, assign badges manually or use badge API.
Create a badge
First, you still need create a badge.
Open “Widgets” on the admin panel, then “Badges and Achievements.” Initially click the button Create.

Let's then see all fields you need to fill out and discuss differences.
First, choose the type of badge you want to create based on an opportunity to level them up.

If you choose a standalone badge, you need create only one badge.
If you pick Progression Series or Collection, you need to create all needed badges for the desired combination.
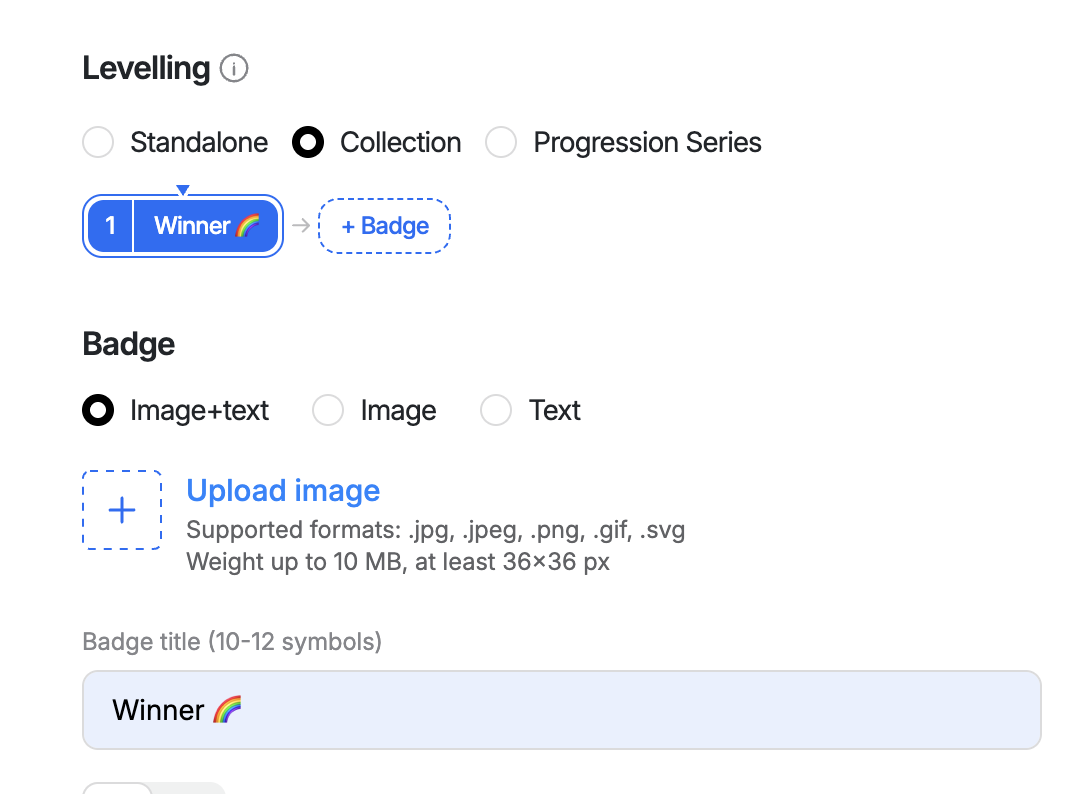
The badge will look like an image, a text plate, or an icon plus text plate? Choose the needed type.
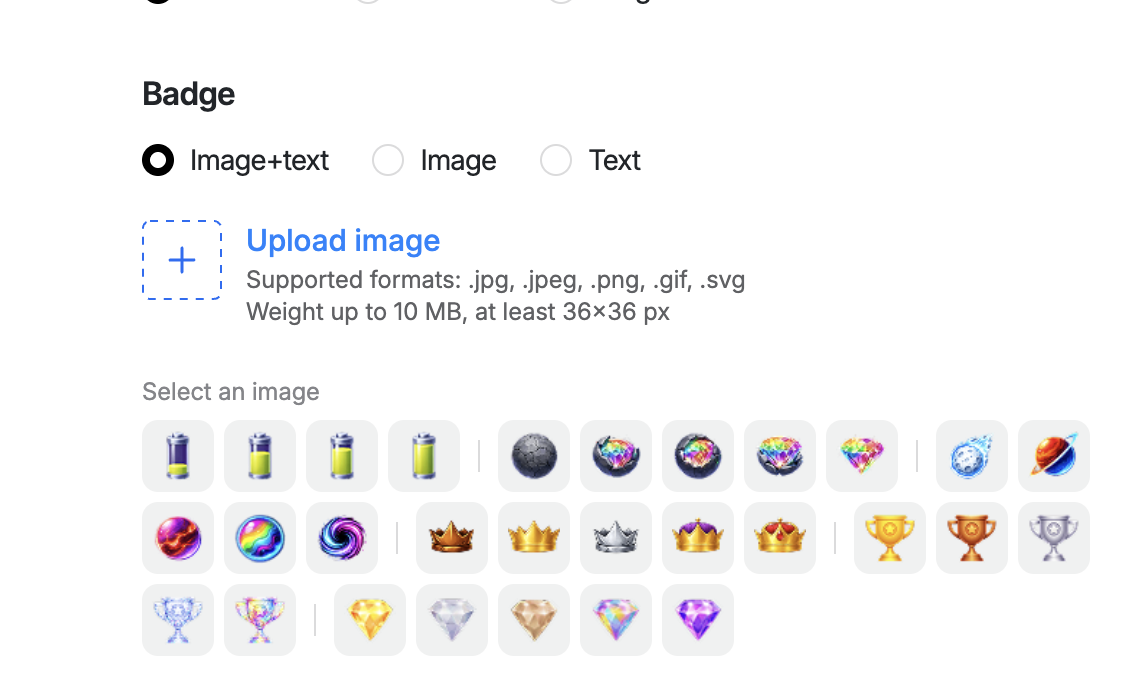
If you choose an image, you can add your own icon (see technical requirements right there), or choose one from our gallery (if you don't see the gallery, be sure that all icons are activated in the Customisation section — Badges)
If you add your own images for this, please mind that we adapt it to the size of the chat: 18x18 px. For your experience to be successful, we recommend preparing the icons in advance with a specialist, as this size is very compact.
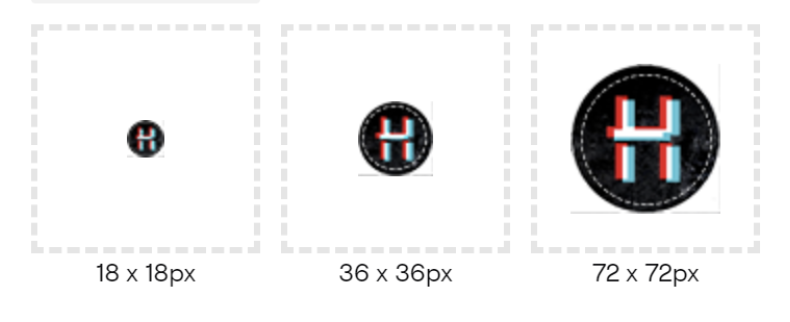
Below you can see examples of the elements you place on the icon and how much they will be visible depending on its size.
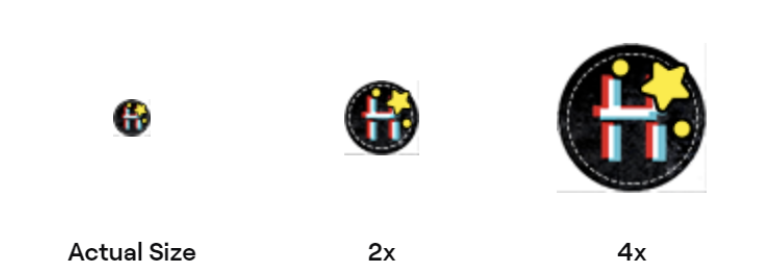
For the best experience, we recommend that you use shapes and colours.

In the actual size 18x18px
When you combine progressive series, you need to choose or upload images that showcase the progress. The heart icons above are a clear example. All icons you will find in our badge gallery can be used as a progressive series.


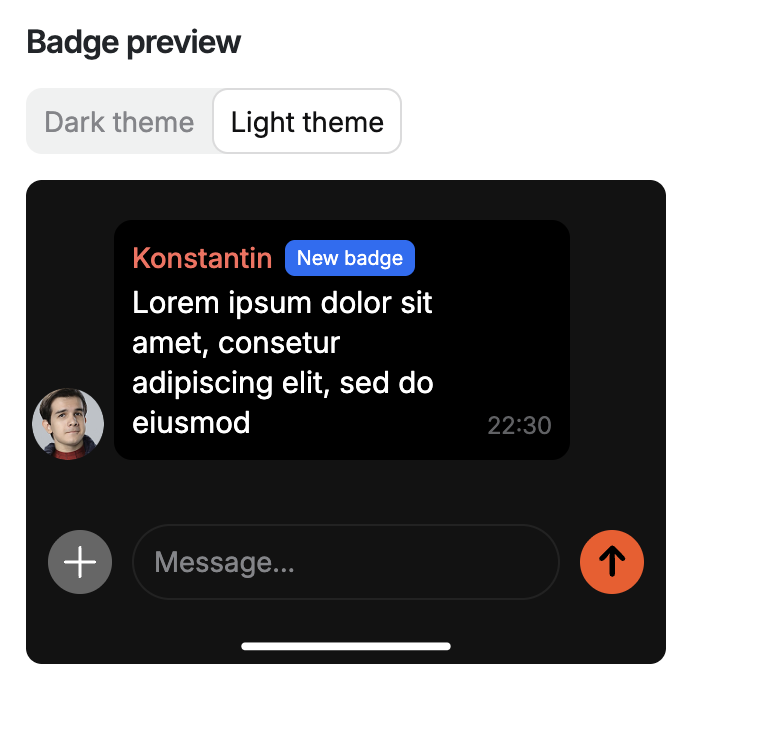
While creating a badge, you can see the badge preview on the right. You can check there how it looks for both light and dark modes.
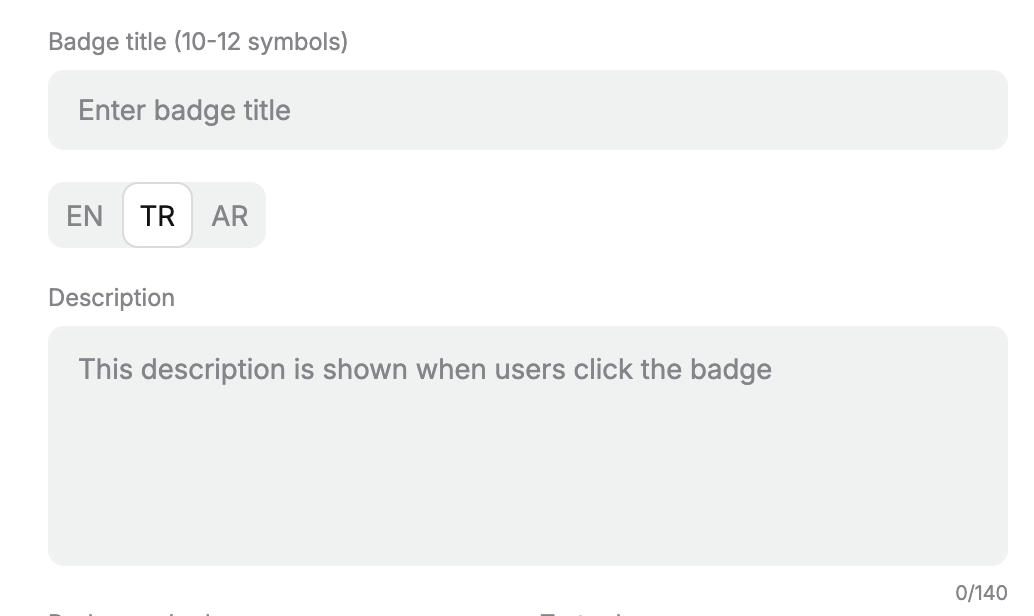
You need to add badge title to create any type of the badge. If your badge contain the badge plate, the title will be display there. If you use an icon badge, the title will be visible in the badge description for users, and you will be able to fin your badge on the admin panel by using this title.
Please mind—the badge title is common to all activated languages.
Contrary to the title, the badge description can be localised for all activated languages. Add lang variants to all language tabs. The description is visible for all users who click on a badge. So, it will be helpful if you add the explanation how to earn the same badge.
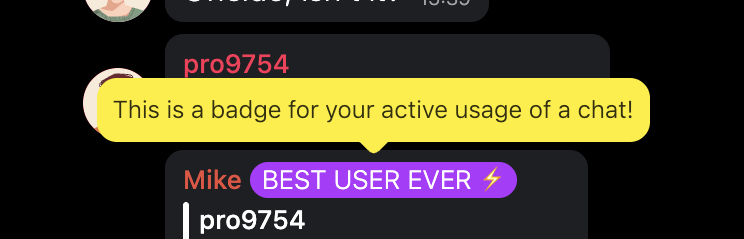
Example of the tooltip linked to the badge
If you've chosen a text or text+icon badge, you need to choose the colour pairing for it. You can pick one or add your own colour numbers.
If your badge is an image with no text, the colour choice will be unclickable.

If you want to give your badges automatically for actions users perform, please click the plus button and choose the needed triggers. You can choose any number of triggers, but we recommend stay with one trigger for every badge—it is much easier for users to understand the rules.
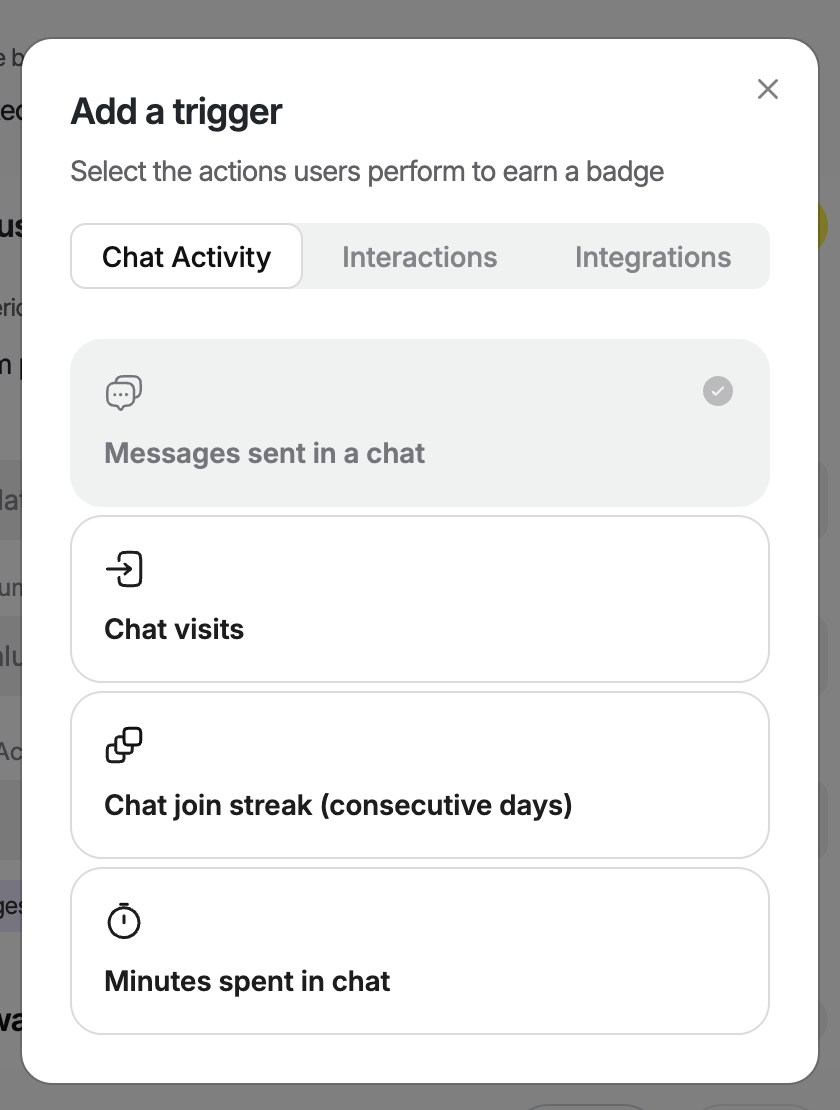
When you choose triggers, you need to set up the timing for all of them.
Custom period allows you to choose the period ahead from today.
Last N days period works retrospectively. If you choose, for instance, 20 last days, your badges will be updated daily based on the last 20 days of users actions.
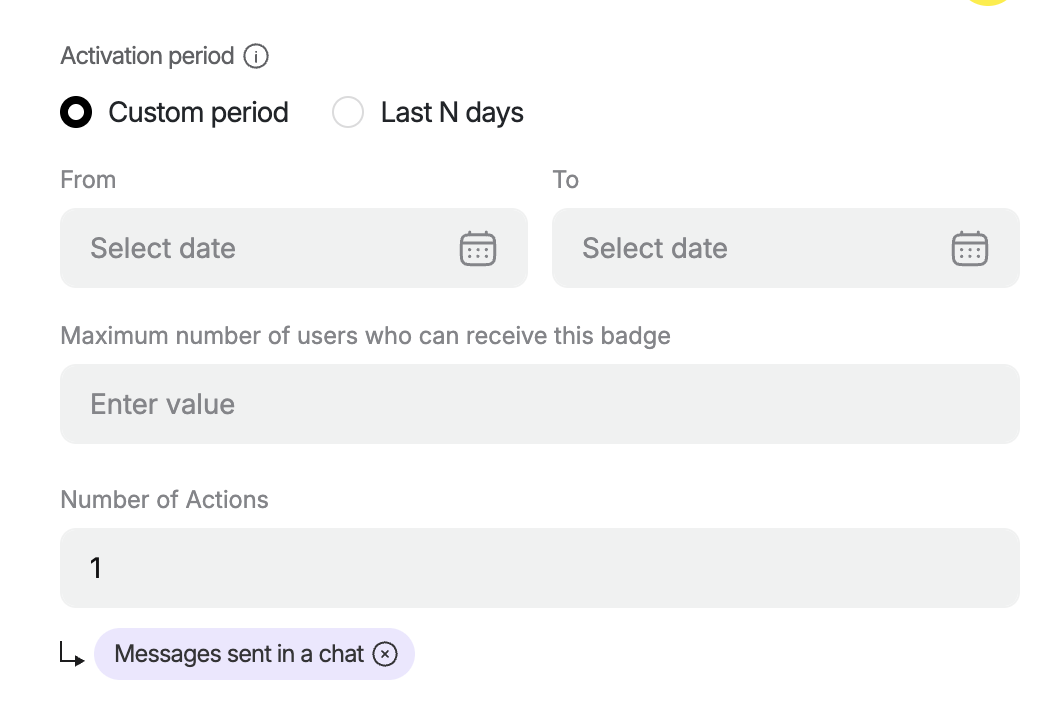
The violet tooltip shows which trigger you are setting up now.
After setting the activation period, specify the maximum number of users who can receive this badge _(this field is optional) _and number of triggered actions users need to perform to get the badge.
Please note: if you create a user through the User communication mode, such a user won't receive a badge automatically. If you need to assign a badge to an artificial user, do it manually.
Notification for a user (optional) about their reward can contain a picture.
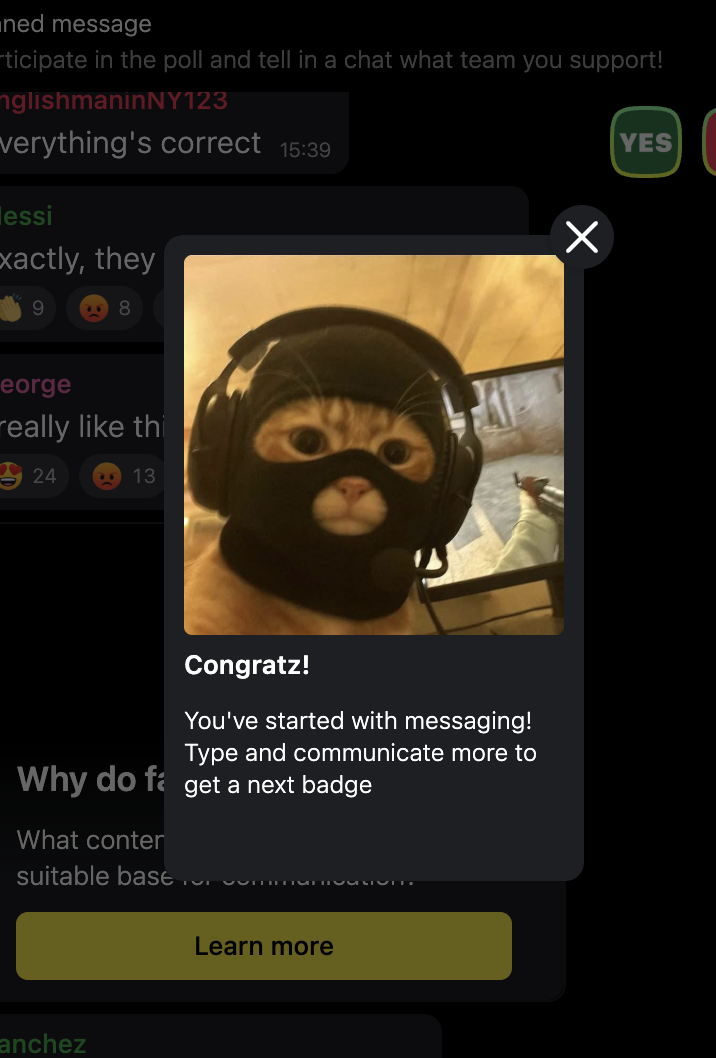
Example of the notification for the user who gets a badge
Reward users with badges
If you set up badges with triggers, they will be given to users automatically. Otherwise, you need to manually assign them to users.
Manual assignment is suitable for rewarding users for actions in a chat and for activity on the main platform (for subscriptions, memberships, transactional activity, a particular amount of consumed content, etc.).
- You can upload a file with the list of users to every badge. The file must be in .csv format, split with "," (comma), and include user IDs. Before uploading, you can see an example of a list.

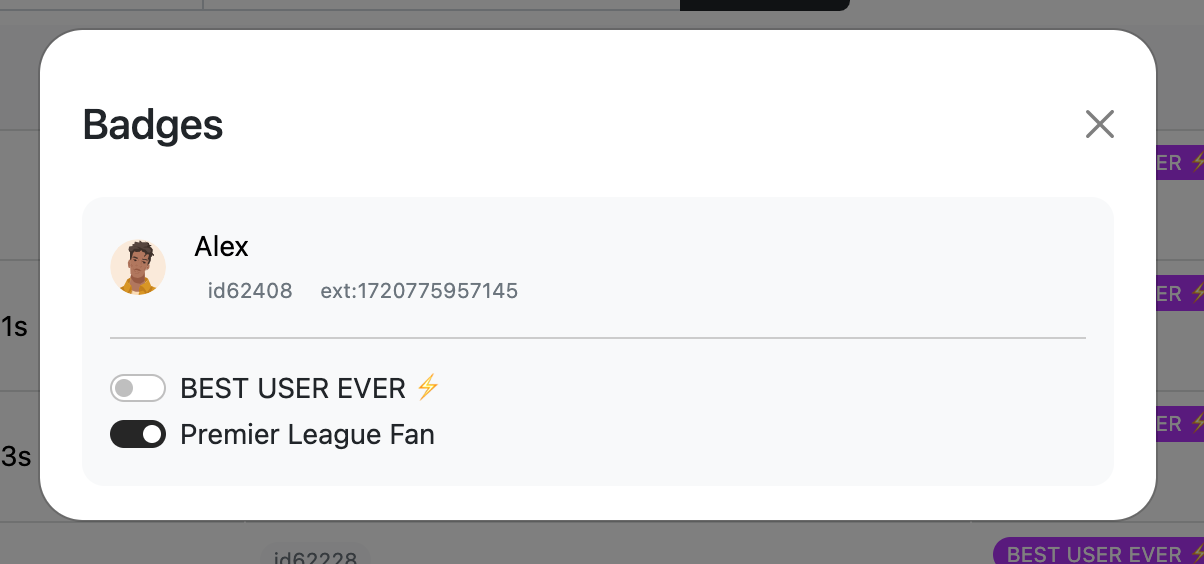
- You can assign badges to users separately. To do so, click the Assign a badge button in the top right corner, find a user with their user ID, and choose a badge you want to assign (move a toggle). Then, the user gets a badge and appears on a list of awarded users.
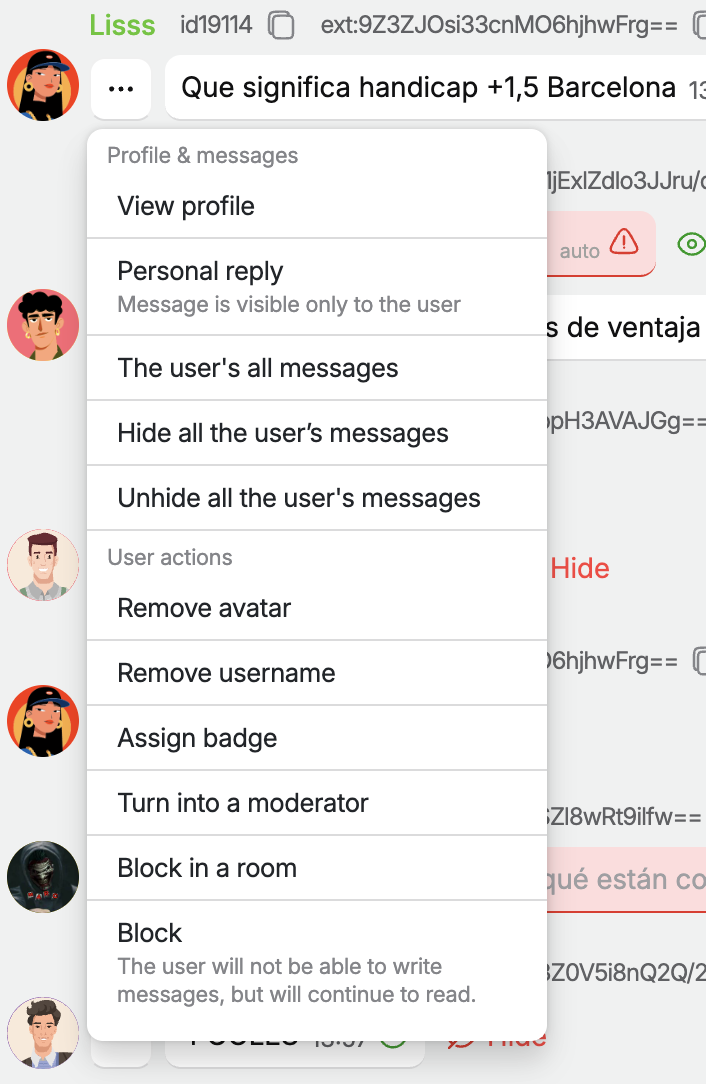
- You can choose a user in the message feed, apply for the contextual menu, and choose assign a badge.
All these methods of assignments cabe performed for triggered badges as well. So, if you want to assign a triggered badge for a user whi didn't perform all needed actions, it is als possible through manual assignment.
Gamification
You can connect badges with stickers and giveaways.
- Stickers
You can make any sticker pack available just for users who own the badge. For this, after creating the badge, you need to open section Customisation/Stickers, choose the needed sticker pack, and set up the linkage of it with the badge.
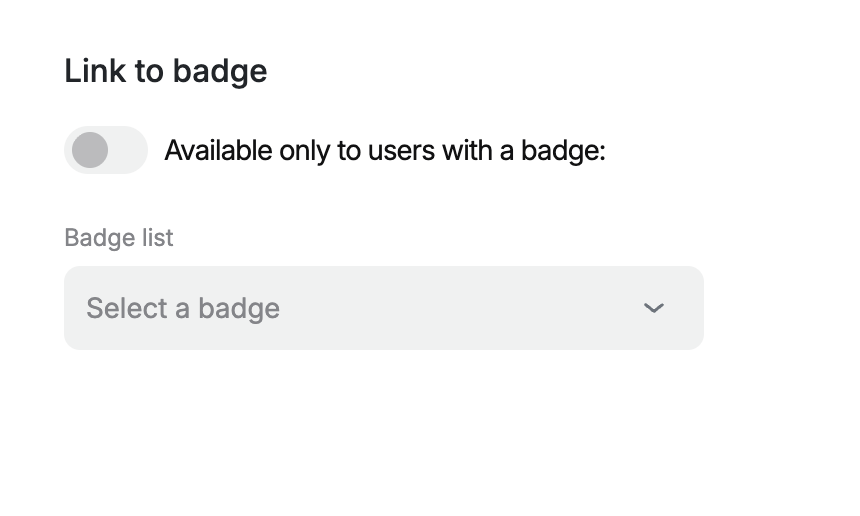
- Giveaways
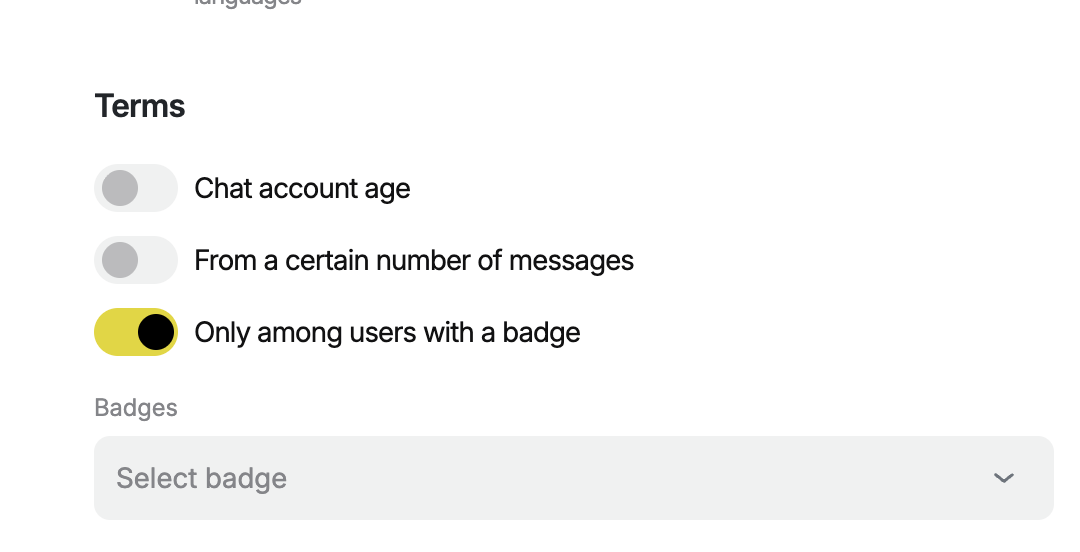
While creating a giveaway, you can make it possible to participate just for badge owners.
It can be set up during the first step of a giveaway creation.
Change, delete, or deactivate
You can delete a badge you don’t need anymore. To do that, click the button Edit for the badge you want to delete and click on Delete in the right corner of the page at the bottom.
If you want to change or remove a badge for a particular user, open the Users tab, find them by userID or nickname, and click the Edit button. Then, disable a toggle for a badge you want to take off or enable the one you want to assign.
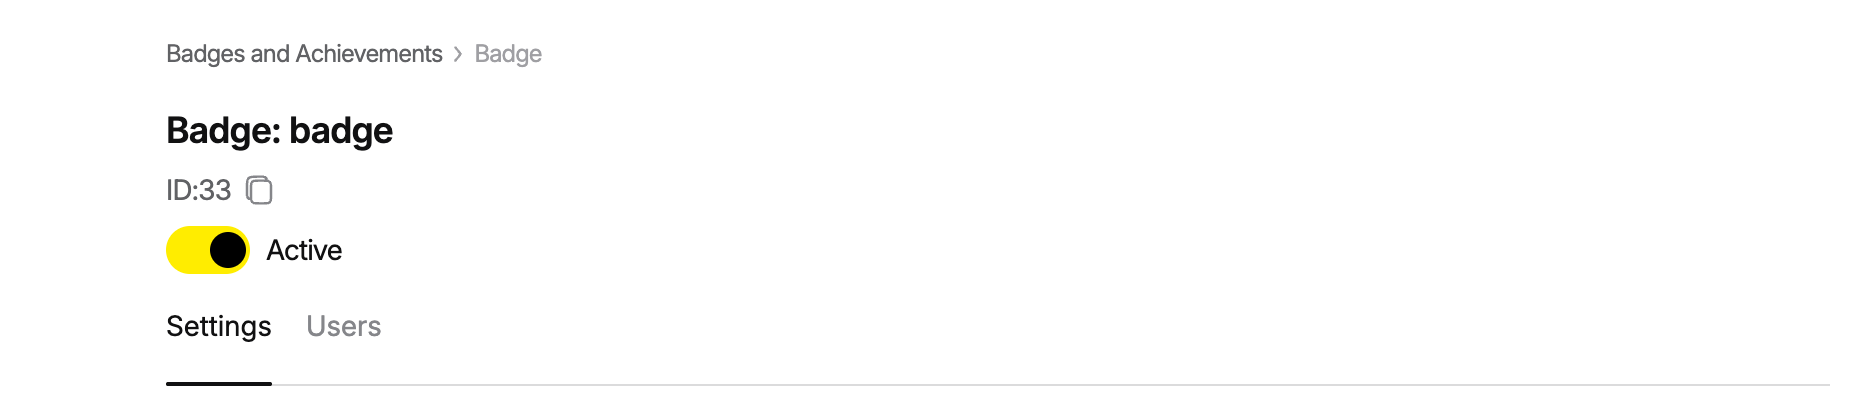
Also, you can deactivate the badge—it will disappear from users' profiles, but you will be able to return it by activating it again. To do so, you need to open the badge page.
Notes on badge display in the chat interface
- Notifications about badge assignments are more important than marketing offers but less important than technical tooltips and notifications.
- If a user has multiple badges, the chat interface displays those that fit in one line in the following priority:
- Role (admin/moderator, speaker, guest)
- Loyalty program (passed as the 'statusname' parameter)
- Other badges — in order of assignment
- All badges are displayed in the profile (under "Settings/Profile"), regardless of their number.
- You can open some functionality for particular badge owners (for example, open a sticker pack for them).